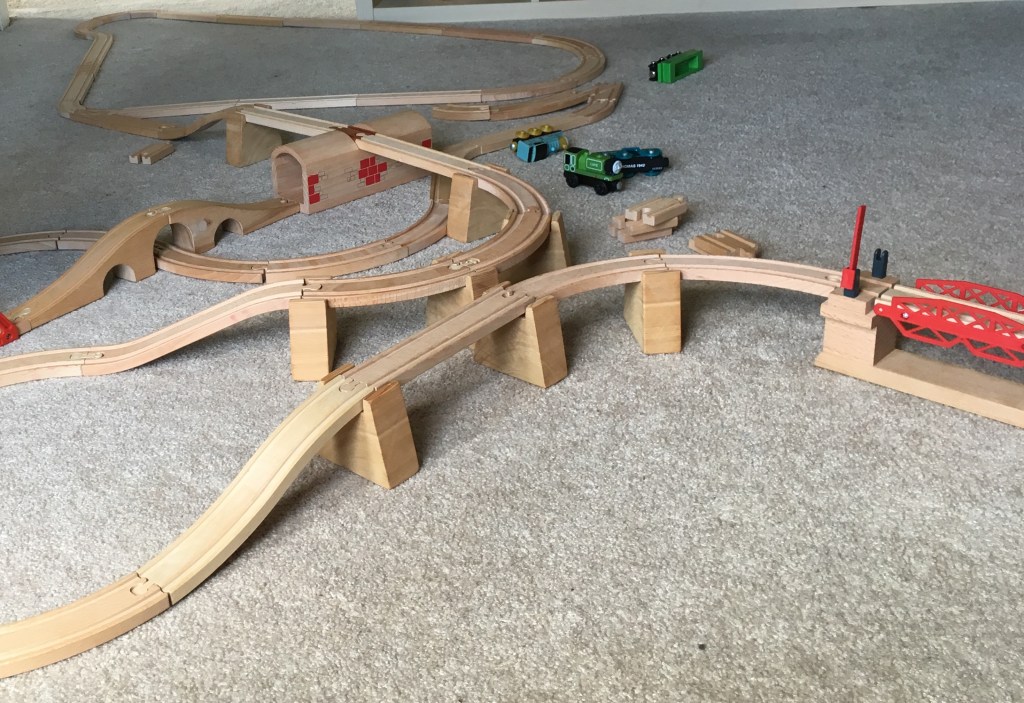
A few years ago, as my kid was getting into wooden trains, I made these risers so he could build bridges and elevated tracks. While there are lots of risers available for purchase, I really like these because they were fairly simple to make, and have a lot of stability. The key difference in the design is the angled sides which adds the stability. I was inspired by Incan buildings that have withstood earthquakes for more than half a millennium.
Interlocking blocks and sloping walls make Inca buildings extremely resistant, but not immune, to earthquake damage. 500 years of earthquakes have done remarkably little damage to Inca structures left in their complete state.
Inca Architecture, Ancient History Encyclopedia.
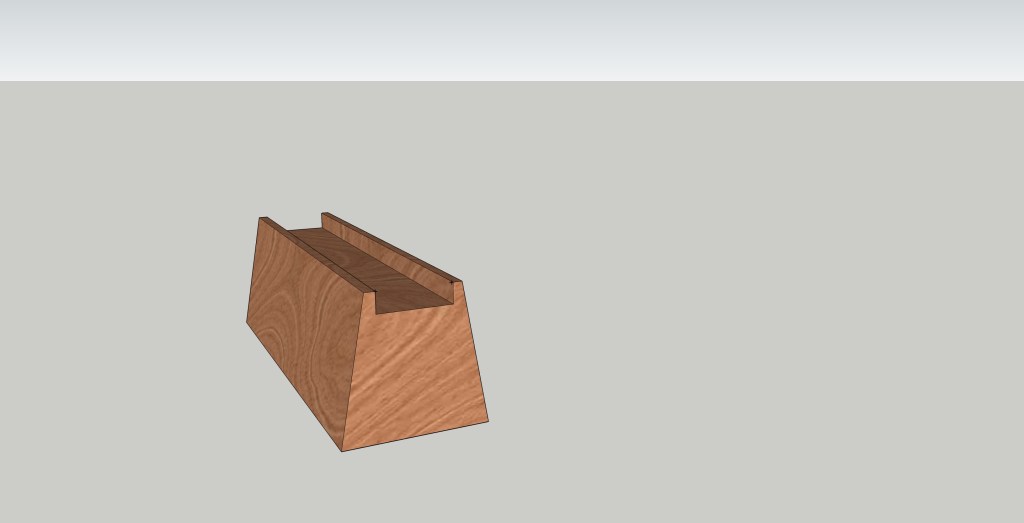
Here’s what you’re aiming to build. There will be eight risers when you’re done.

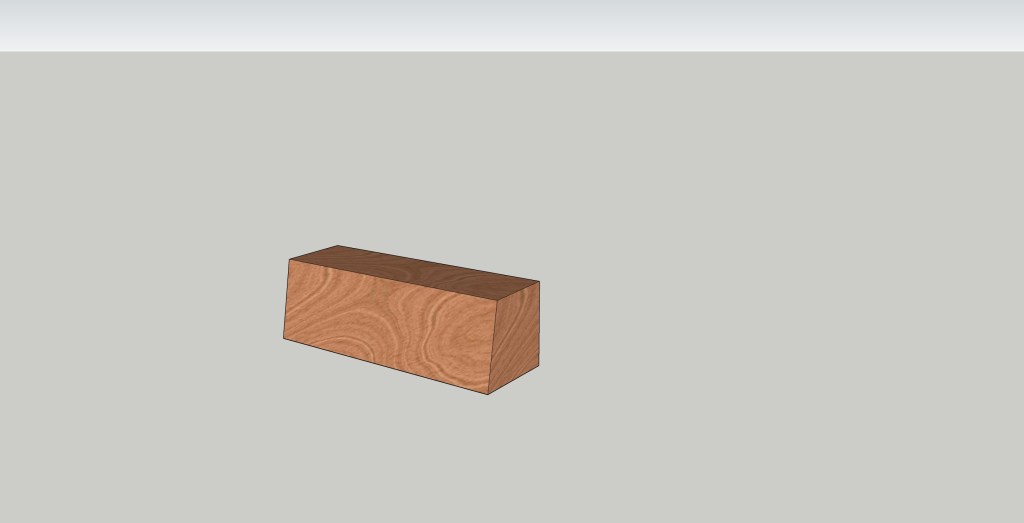
I made this out of a piece of cedar 4×4 that I had left over. (It smelled great!) For this project you’ll need:
- (1) 11″ 4×4 (actual measurements 3½” by 3½”)

Set your table saw blade tilt to about 80º (to be precise, 79.7134394º). Alternately, measure in ⅝” from along the short side of the top, mark that, and set the blade to the angle from the bottom to that mark. (This angle/size is not critical to the fit, so it doesn’t need to be exact.)
Cut one side of the block all the way down.
Turn the work piece around and cut the same angle on the other side.

Now cut a channel down the middle of the block that is 1 13/16″ wide and ½” deep. That’s ¼” in from each side of the top, if you got the angle right. If your angle is slightly different, then make sure this channel is exactly these dimension to hold the tracks.
There are several ways to accomplish this:
- Set up a dado blade on your table saw to ½” depth and cut several passes from one side to the other
- Set up your router to ½” depth with a straight bit and do the same
- Using the table saw with the standard blade (returned to vertical) cut a number of kerfs to rough out the channel, knock it out with a chisel, and then clean it up
For the final cut, set the fence on the table saw (or a stop block on your chop saw) to 1⅜” and cut the block seven times to create eight risers.
Sand all the surfaces, ease the edges, and test the fit of a track and adjusting as needed. I found that (with some adjustment) this worked for all the various track pieces we have, straight or curved, from all kinds of different sets (Brio, Thomas and Friends, Ikea, and some Russian ones).